Imagine being able to check on your little gadgets and pieces of equipment from anywhere, perhaps a computer that is tucked away at home or even a tiny device in a faraway place. Lots of folks are finding ways to get their smart items, the ones that make up what people call the Internet of Things, to chat with them even when they are not right there. This kind of remote chat is super handy, especially when you need to see what is happening on a screen that belongs to one of these connected things, and that is where something like VNC comes into play, you know, for seeing and controlling another computer's display.
Often, these smart items, these little bits of electronics with sensors and software, are hooked up to your home network, which usually sits behind a router. This router, in a way, acts like a guard at the gate, keeping things inside your home network safe from the wider internet. So, getting to your VNC-enabled IoT gadget from outside your home means teaching that guard, your router, to let certain visitors through. It is not as complicated as it sounds, really, and many people find it quite a useful skill to pick up for their connected homes.
This little guide will walk you through the process of setting up your smart devices so you can peek at their screens and even control them, all from a different spot, even when they are cozy behind your home's main internet connection box. We will look at how to get that remote view working smoothly, so you can keep an eye on your projects or systems without having to be right next to them, which is pretty neat, if you ask me.
Table of Contents
- What is this IoT stuff anyway?
- Getting Ready for Your IoT VNC Setup
- How do you open a door in your router? (Port Forwarding for IoT VNC)
- Making the VNC Connection Work
- What if things don't quite connect? (Troubleshooting Your IoT VNC Link)
- Keeping Your IoT VNC Connection Safe
- Why should you care about security for your IoT VNC?
- Wrapping Things Up for Your IoT VNC
What is this IoT stuff anyway?
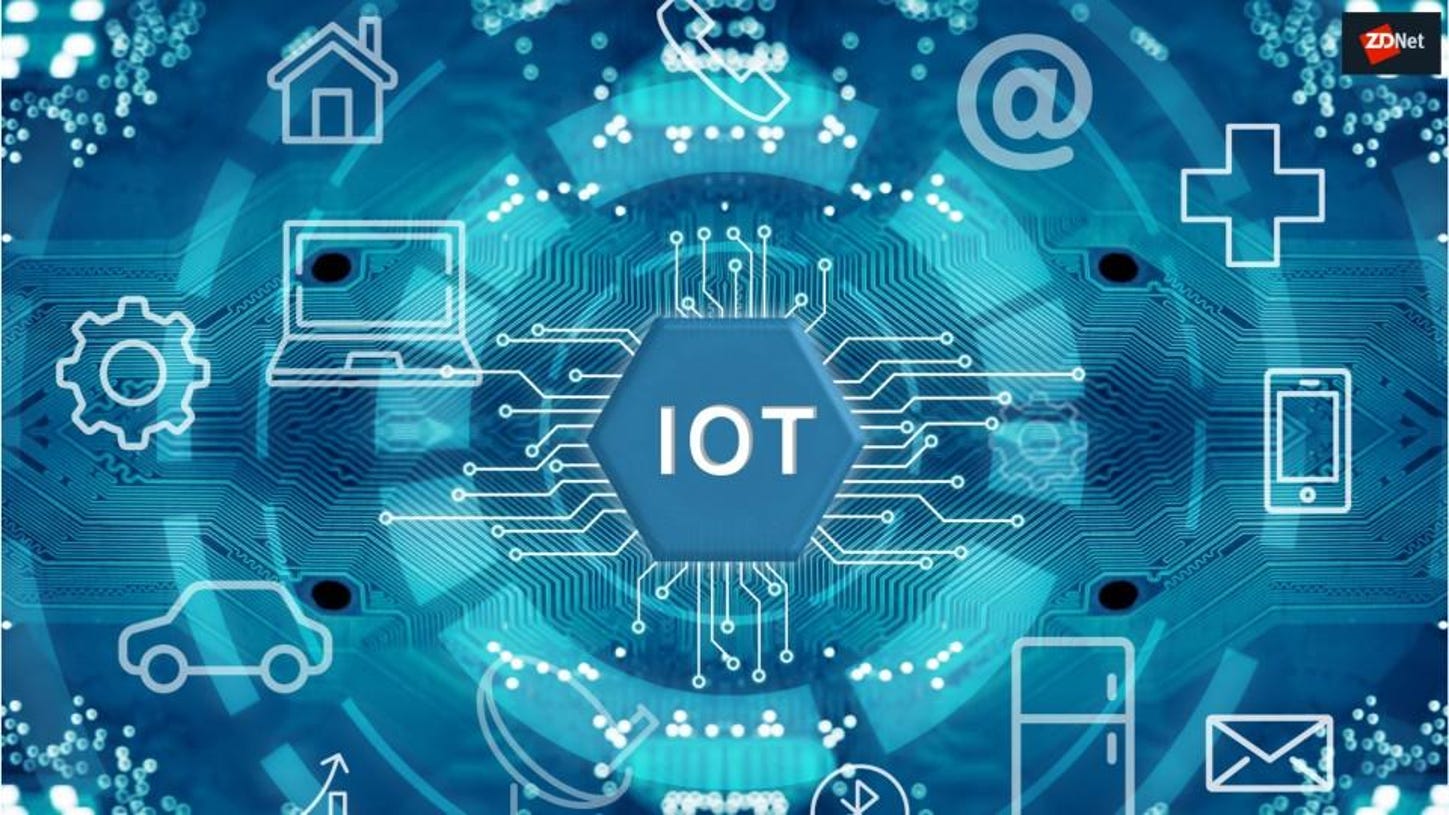
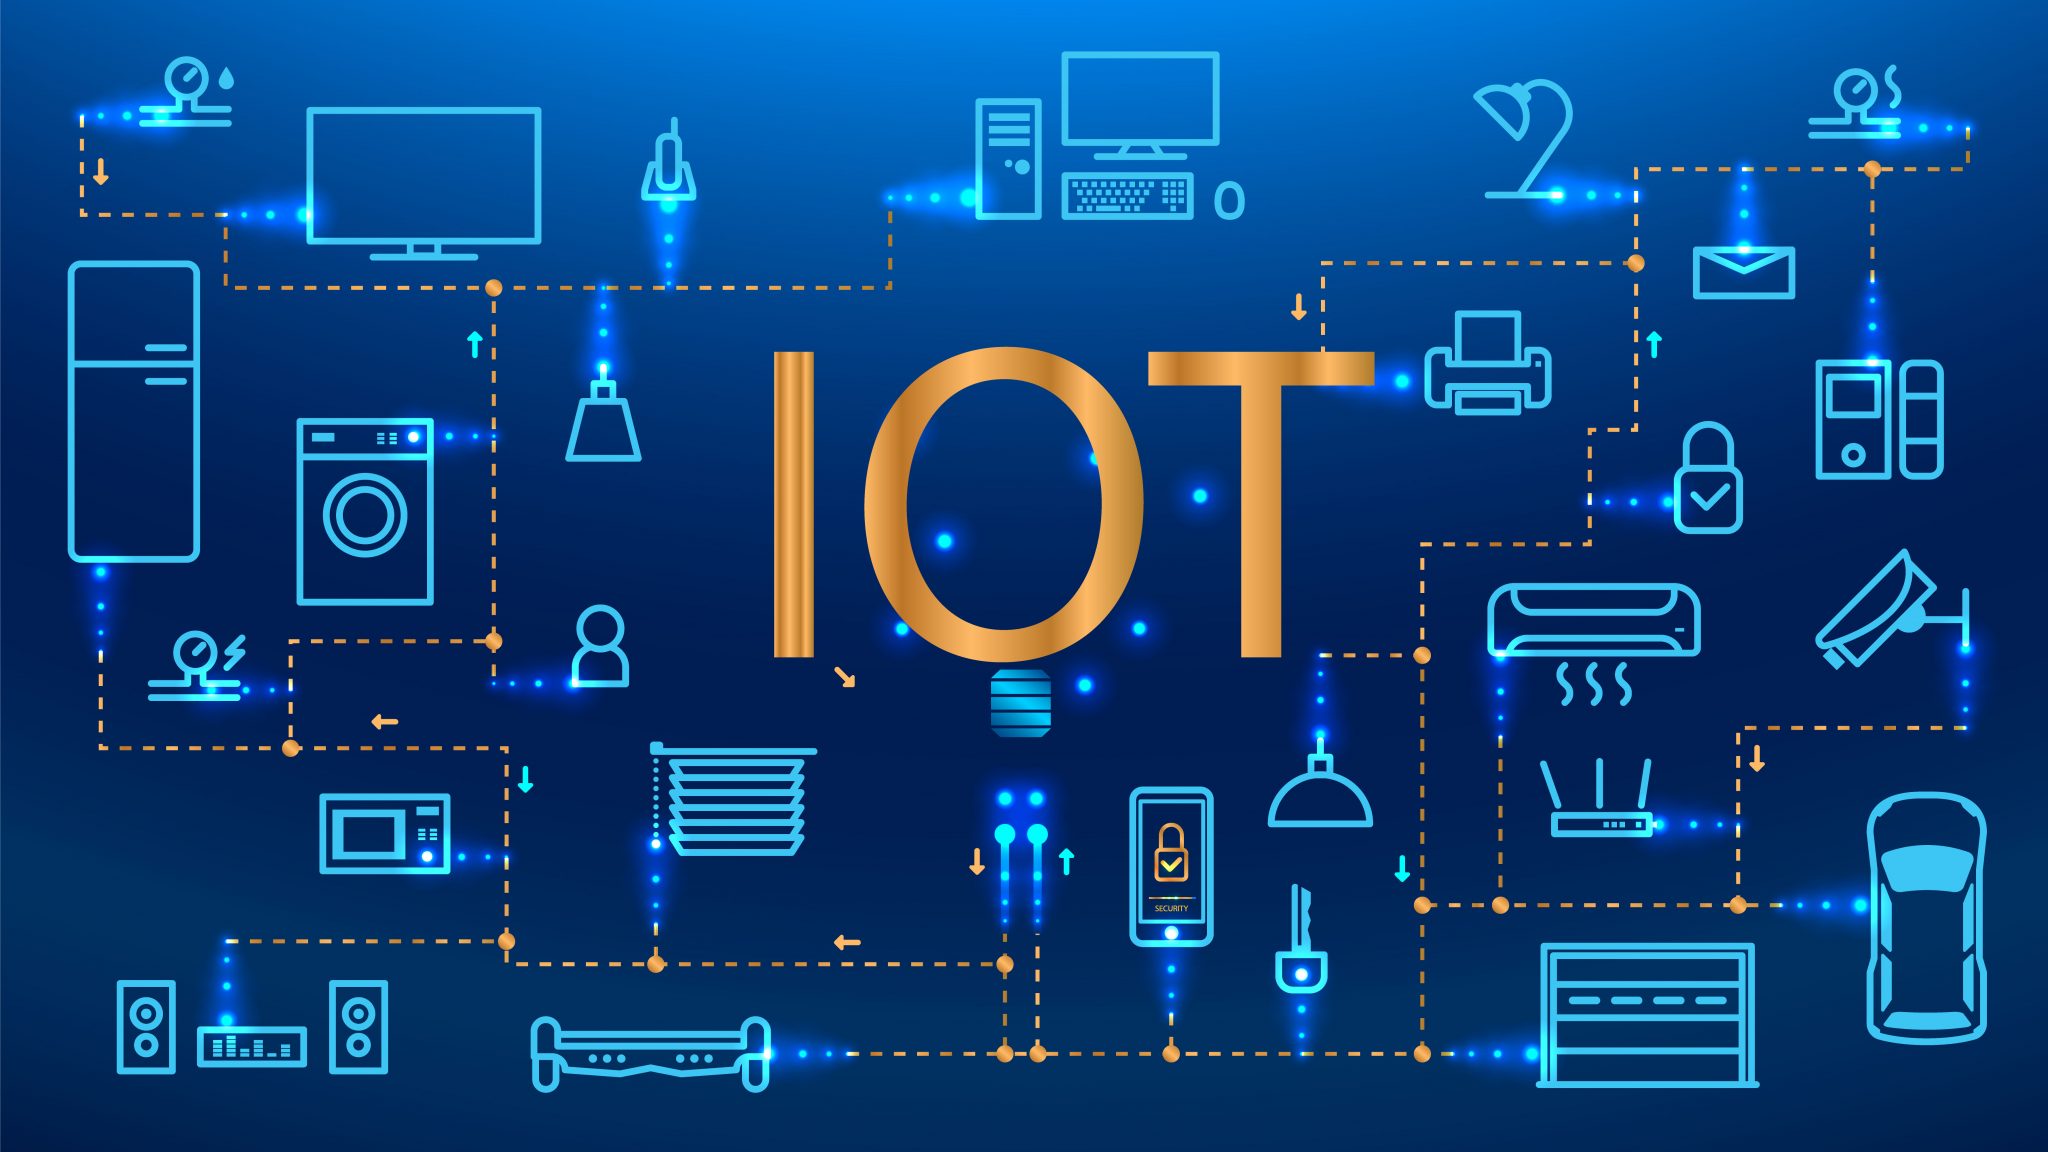
You hear the term "IoT" tossed around quite a bit these days, and it just means a whole bunch of physical things that have little brains and ways to talk to each other over the internet. These can be anything from smart thermostats to tiny computers that run your home projects. They have sensors to pick up information, some processing ability to make sense of it, and software that lets them connect and share what they know with other pieces of equipment or even big computer systems out there. It is, in a way, a collective group of connected items that can send information back and forth without you having to push buttons or give commands all the time. They are, for instance, embedded with internet connections and other bits of hardware that let them communicate. It is, basically, the idea of everyday items being able to talk to computers and let the physical world be watched over digitally, or even controlled, from afar. This network of interrelated devices connects and exchanges information with other similar items and with cloud storage. So, really, it is about making physical things a part of the digital world, letting them sense what is going on around them and share that with other devices, more or less without human hands getting involved.
Getting Ready for Your IoT VNC Setup
Before you even think about getting VNC to work with your IoT gadget from outside your home, there are a few bits and pieces you will want to get sorted. First off, you need to make sure your IoT device, whatever it might be, actually has VNC server software installed and running on it. This is the part that lets another computer see and control its screen. Many smaller computers, like certain popular single-board types, have ways to install this quite easily. You will also need to know the local network address of your IoT device; this is like its street number within your home network. You can usually find this in your router's settings or by looking at the device itself, perhaps in its system information. It is also a good idea to set this address to be a fixed one, so it does not change every time your device restarts. This makes the whole VNC behind router process much smoother, you know, for future connections. Finally, you will need a VNC viewer application on the computer or phone you plan to use for controlling your IoT gadget. There are many free ones available, so finding one should be pretty simple.
How do you open a door in your router? (Port Forwarding for IoT VNC)
Your router, as we touched on earlier, is like a strong front door for your home network. It keeps unwanted visitors out. To let VNC traffic from the internet reach your IoT device, you need to tell your router to open a specific "door," which we call a port, and send any incoming VNC requests to your particular IoT gadget. This is known as "port forwarding." You will usually log into your router's settings page using a web browser. The address for this is often something like 192.168.1.1 or 192.168.0.1, but it can vary, so you might need to check your router's manual or look on the back of the device itself. Once you are in, you will look for a section labeled "Port Forwarding," "NAT," or "Virtual Servers." Here, you will create a new rule. You will tell the router which outside port to listen on (often 5900 for VNC, but you can choose another one for a bit more obscurity), which inside port to send it to (usually 5900 on your IoT device), and the local network address of your IoT gadget. It is a bit like telling the doorman, "If someone knocks on door number 5900 from the outside, send them directly to the person at apartment 192.168.1.100." This step is really important for getting your IoT VNC setup working from afar.
Making the VNC Connection Work
With your router now set up to direct VNC traffic to your IoT device, the next step is to actually make the connection from your remote location. You will need to know your home network's public internet address. This is the address that the rest of the internet sees for your router. You can find this by simply searching "what is my IP address" on a search engine from a computer connected to your home network. Keep in mind that this address can sometimes change, especially if your internet service provider gives you a dynamic one. For a more stable setup, you might consider looking into a service called Dynamic DNS, or DDNS, which gives you a fixed web address that always points to your home network, even if your public internet address shifts. Once you have your public internet address, you will open your VNC viewer application on your remote computer or phone. In the viewer, you will enter your home network's public internet address, followed by a colon and the port number you set up for forwarding (e.g., 123.45.67.89:5900). If everything is set up correctly, the VNC viewer should then prompt you for the password you set on your IoT VNC server, and after that, you should see the screen of your little device, which is pretty cool, honestly.
What if things don't quite connect? (Troubleshooting Your IoT VNC Link)
Sometimes, even with all the steps followed, things do not quite click into place, and your VNC connection to your IoT device just will not go through. Do not get discouraged; this is a pretty common part of setting up network connections. First, double-check that the VNC server software is actually running on your IoT gadget. Make sure it is set to start automatically when the device powers on. Then, go back into your router's port forwarding settings. Are the public port, the private port, and the local address of your IoT device all entered correctly? A single typo can stop everything from working. Also, check if your IoT device's firewall is blocking incoming VNC connections. You might need to add a rule to its firewall to allow traffic on the VNC port. Another thing to consider is your internet service provider. Some providers block certain ports or have extra layers of security that can interfere with port forwarding. You might need to contact them to see if they have any restrictions. Lastly, try connecting to your IoT VNC from another device on your local network first. If that works, it tells you the VNC server on the IoT device is fine, and the problem is somewhere in the router or internet connection part of the setup. It is usually just a small detail that needs adjusting, so keep at it.
Keeping Your IoT VNC Connection Safe
Opening up a way for the internet to reach a device inside your home, even for something as useful as VNC for your IoT project, means you are also creating a potential way for others to get in. Because of this, making sure your VNC connection is secure is very, very important. The first and most basic step is to use a very strong password for your VNC server. Do not use something easy to guess like "123456" or "password." Think of a long phrase with a mix of different types of characters. Another good practice is to change the default VNC port (which is often 5900) to a less common one, perhaps something like 23456. While this does not make it truly hidden, it does make it less likely for automated scanning tools to find it right away. Some VNC server software also offers encryption options. If yours does, definitely turn that on. Encryption scrambles the information sent between your VNC viewer and your IoT device, making it much harder for anyone to snoop on what you are doing or what you are seeing. You might also consider using a Virtual Private Network, or VPN, which creates a secure tunnel between your remote device and your home network. This adds a very strong layer of protection over your VNC traffic, basically making it invisible to anyone else on the internet, which is a much better way to handle your IoT security.
Why should you care about security for your IoT VNC?
You might be thinking, "It's just my little IoT gadget; who would care about it?" But honestly, any device that is connected to the internet and can be accessed from outside your home is a potential doorway into your entire home network. If someone were to get access to your VNC-enabled IoT device, they could potentially see what is on its screen, control it, and depending on what that device is connected to, they might even be able to get to other things on your home network. This could mean access to your personal files, other smart home devices, or even using your internet connection for things you would not want. Think about it: if your IoT device is, say, a camera, someone could peek into your home. If it is connected to a home automation system, they could mess with your lights or thermostat. So, taking steps to secure your IoT VNC connection is not just about protecting that one device; it is about protecting your privacy, your data, and the overall safety of your home network. It is, you know, a pretty big deal to keep things locked down.
Wrapping Things Up for Your IoT VNC
Getting your IoT device accessible through VNC from behind your home router can seem like a bit of a puzzle at first, but with a careful approach to setting up port forwarding and a strong focus on security, it is something many people can achieve. The ability to remotely monitor and control your smart gadgets opens up a lot of possibilities, whether for personal projects, keeping an eye on things when you are away, or simply having more flexibility in how you interact with your connected world. Remember to always use strong passwords, consider changing default port numbers, and if your VNC software or router offers it, turn on encryption or use a VPN for that extra layer of protection. Taking these steps helps ensure that your remote access is convenient for you but difficult for anyone else to misuse. It is, basically, about making your connected life easier and safer at the same time.
Related Resources:

Detail Author:
- Name : Mr. Murl Wehner
- Username : gjohnston
- Email : clarissa.haley@willms.com
- Birthdate : 1970-12-14
- Address : 84075 Kessler Valleys New Jackyport, ME 25115-2241
- Phone : 424.578.6003
- Company : Bernier and Sons
- Job : Hazardous Materials Removal Worker
- Bio : Laborum autem autem delectus recusandae et. Quod et eum qui veniam. Animi non deleniti veritatis ut magnam harum.
Socials
twitter:
- url : https://twitter.com/elzaprohaska
- username : elzaprohaska
- bio : Ab quaerat eligendi eos explicabo sint aut. Dignissimos enim aut et harum animi hic.
- followers : 2029
- following : 2344
tiktok:
- url : https://tiktok.com/@prohaska1986
- username : prohaska1986
- bio : Rerum voluptatem provident enim esse. Excepturi et quis ducimus.
- followers : 5285
- following : 823
instagram:
- url : https://instagram.com/elza_prohaska
- username : elza_prohaska
- bio : Et inventore et voluptas dolorum libero facere. Sit dolor veniam numquam repudiandae quas.
- followers : 3849
- following : 1665
linkedin:
- url : https://linkedin.com/in/elzaprohaska
- username : elzaprohaska
- bio : Sapiente eaque voluptatem cumque officiis id et.
- followers : 2312
- following : 910
