In today's interconnected world, managing remote devices is no longer a luxury but a necessity. Whether you're a hobbyist or a professional, the ability to securely access and control your internet of things (IoT) devices from anywhere is paramount. This is where the power of SSH (Secure Shell) comes into play, especially when working with a versatile platform like the Raspberry Pi. This comprehensive guide will delve deep into how you can effectively use SSH for your ssh remoteiot device raspberry pi setup, ensuring robust security and seamless operation.
Navigating the complexities of remote access can sometimes be daunting, especially when encountering connection issues or aiming for optimal security. From understanding why a "Connection closed by {ip_address}" error occurs to mastering SSH key generation for enhanced authentication, this article provides practical insights and solutions. We'll explore everything from initial setup to advanced techniques like X11 forwarding and managing multiple SSH keys, empowering you to take full control of your remote Raspberry Pi IoT projects.
Table of Contents
- Understanding SSH: The Backbone of Remote Access
- Why Raspberry Pi for IoT?
- Setting Up Your Raspberry Pi for SSH
- Securing Your SSH Connection: Beyond Passwords
- Common SSH Challenges and Troubleshooting
- Advanced SSH Techniques for IoT Management
- Managing Multiple SSH Keys and Configurations
- Best Practices for SSH on Remote IoT Devices
Understanding SSH: The Backbone of Remote Access
SSH, or Secure Shell, is a cryptographic network protocol for operating network services securely over an unsecured network. It's the go-to method for remote command-line login and executing commands, and it's absolutely crucial for managing any ssh remoteiot device raspberry pi setup. When you connect to an SSH server, you identify yourself to the server (using either your login and password, or a key), and the server identifies itself to you, using its host key. This two-way authentication ensures that both parties are who they claim to be, preventing man-in-the-middle attacks.
The core principle behind SSH is encryption. All communication between your client (e.g., your laptop) and the remote server (your Raspberry Pi) is encrypted, making it unreadable to anyone intercepting the data. This is a significant improvement over older protocols like Telnet, which transmit data in plain text. For anyone serious about the security and integrity of their IoT devices, understanding and implementing SSH is non-negotiable. Using SSH, every host has a key, and clients remember the host key associated with a particular server, adding another layer of trust and security.
Why Raspberry Pi for IoT?
The Raspberry Pi has become an indispensable tool in the world of IoT, and for good reason. Its compact size, low power consumption, affordability, and powerful processing capabilities make it an ideal choice for a wide range of IoT projects. From home automation systems to environmental monitoring stations, the Raspberry Pi can serve as the brain of your connected devices. Its GPIO pins allow for easy interfacing with sensors, actuators, and other hardware components, making it highly versatile.
Furthermore, the Raspberry Pi runs various Linux-based operating systems, most commonly Raspberry Pi OS (formerly Raspbian), which provides a familiar and robust environment for development. This Linux foundation means that all the standard command-line tools, including SSH, are readily available and function just as they would on any other Linux server. This ease of use, combined with a massive community support, makes the Raspberry Pi an excellent platform for learning, prototyping, and deploying your ssh remoteiot device raspberry pi solutions.
- Conspiracybot Twitter
- Twitter Hypex
- Frosty Twitter
- Love And Light Tv Yes King Full Video Twitter
- Halle Jonah Together Blind Item Twitter
Setting Up Your Raspberry Pi for SSH
Before you can begin remotely managing your Raspberry Pi, you need to ensure SSH is enabled and that you can establish an initial connection. This process is straightforward but critical for establishing your ssh remoteiot device raspberry pi link.
Enabling SSH on Raspberry Pi OS
There are several ways to enable SSH on your Raspberry Pi:
- During OS Installation (Headless Setup): If you're setting up your Pi without a monitor or keyboard (headless), you can enable SSH by creating an empty file named
ssh(no extension) in the boot partition of your SD card. When the Pi boots, it will detect this file and enable SSH automatically. - Using Raspberry Pi Configuration (Desktop Environment): If you have a monitor and keyboard connected, you can enable SSH through the graphical interface. Go to
Menu > Preferences > Raspberry Pi Configuration. Navigate to the "Interfaces" tab and ensure "SSH" is enabled. - Using
raspi-config(Terminal): From the terminal on your Raspberry Pi, typesudo raspi-config. Navigate toInterface Options > SSHand select "Yes" to enable it.
Once SSH is enabled, your Raspberry Pi will be listening for incoming SSH connections on port 22 (the default SSH port).
Initial Connection: The First Step
To connect to your Raspberry Pi, you'll need its IP address. You can find this by typing hostname -I in the Pi's terminal. Once you have the IP address, you can connect from your computer's terminal (Linux/macOS) or using a client like PuTTY (Windows).
The basic command is:
ssh username@ip_addressFor a default Raspberry Pi OS installation, the username is typically pi. So, it would be:
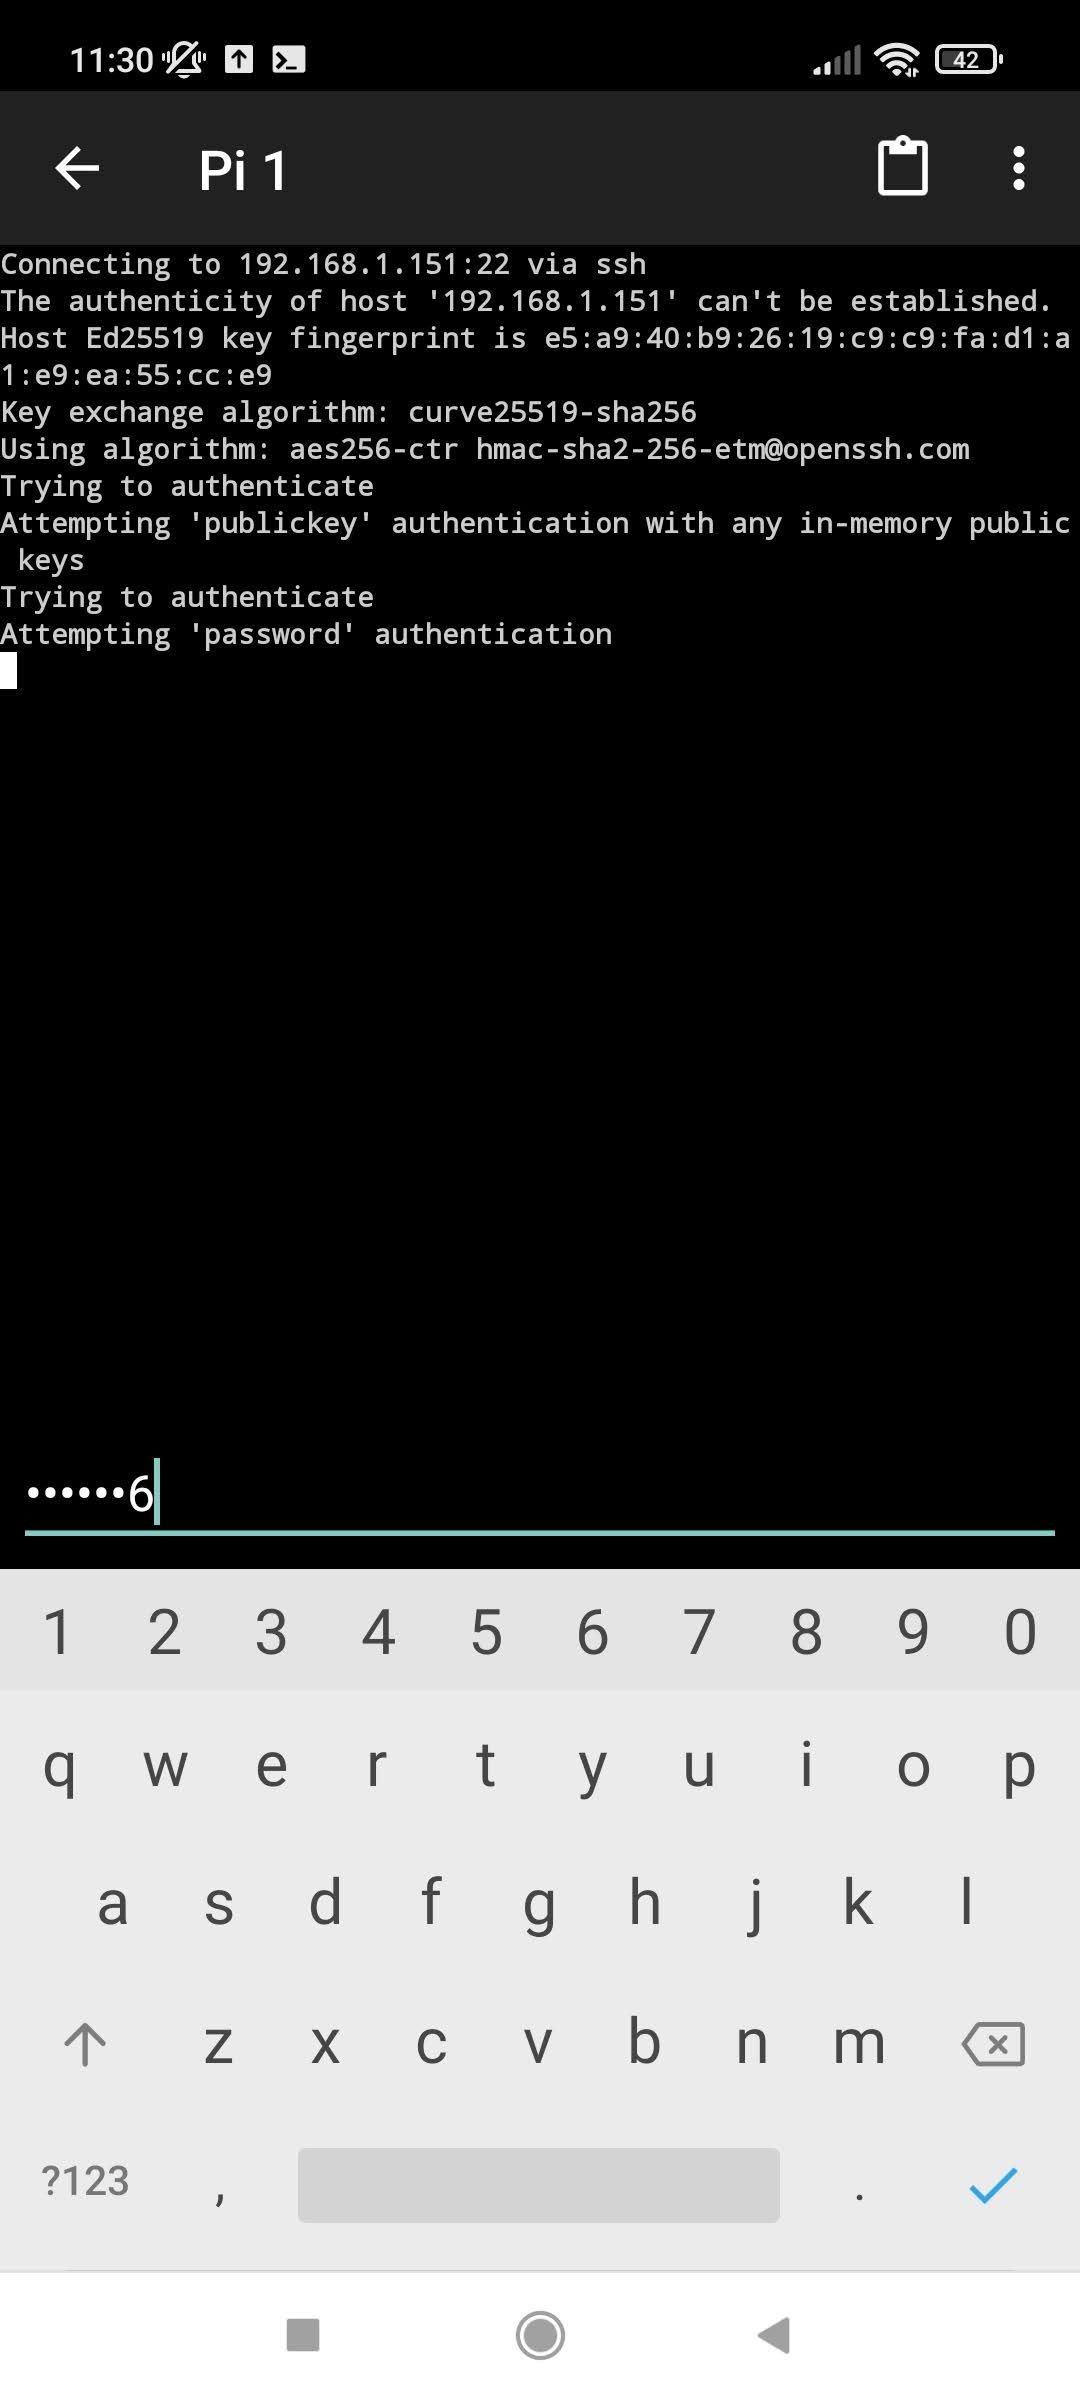
ssh pi@your_raspberry_pi_ipYou'll be prompted for the password (default is raspberry). For Windows users, PuTTY offers a graphical interface to input the IP address and credentials. After the first connection, you might see a warning about the host key not being known. This is normal; type 'yes' to accept and cache the host key. Clients remember the host key associated with a particular server to verify its identity on subsequent connections.
Securing Your SSH Connection: Beyond Passwords
While password authentication is a starting point, it's not the most secure method, especially for an ssh remoteiot device raspberry pi that might be exposed to the internet. Passwords can be brute-forced or guessed. The gold standard for SSH security is key-based authentication.
SSH Key Generation: A Fortress of Security
SSH keys come in pairs: a public key and a private key. The public key resides on your Raspberry Pi (or any remote server), and the private key stays securely on your local machine. When you try to connect, your local machine uses its private key to prove its identity to the server, which verifies it using the corresponding public key. This method is far more secure than passwords because private keys are extremely difficult to guess and can be protected with a strong passphrase.
To generate an SSH key pair on your local machine (Linux/macOS):
ssh-keygen -t rsa -b 4096This command generates an RSA key pair with a 4096-bit length, which is highly recommended for security. You'll be asked to "Enter file in which to save the key". The default location (~/.ssh/id_rsa) is usually fine. You'll also be prompted for a passphrase. **Always use a strong passphrase** for your private key. This passphrase encrypts your private key, adding an extra layer of security in case your private key file is compromised. Many users, like myself, have learned the importance of generating an SSH key, perhaps initially for platforms like GitHub, only to realize its broader applicability for securing remote access to servers and IoT devices.
Configuring SSH for Key-Based Authentication
Once you have your key pair, you need to copy your public key to your Raspberry Pi. The easiest way is using ssh-copy-id:
ssh-copy-id pi@your_raspberry_pi_ipThis command will prompt you for the Raspberry Pi's password, then it will copy your public key (by default, ~/.ssh/id_rsa.pub) to the ~/.ssh/authorized_keys file on your Pi. If ssh-copy-id isn't available or you're on Windows, you can manually copy the content of your public key file and paste it into the ~/.ssh/authorized_keys file on your Raspberry Pi. Ensure the permissions for ~/.ssh are 700 and for ~/.ssh/authorized_keys are 600 on the Pi.
After copying the key, you should be able to log in without a password:
ssh pi@your_raspberry_pi_ipIf you're creating a bash script from server 1 that will execute commands on server 2 via SSH, using your private key file from server 1 is the way to go. You would typically specify the private key using the -i flag: ssh -i /path/to/your/private_key_file user@server2_ip 'command_to_execute'. This is crucial for automating tasks securely.
For enhanced security, it's highly recommended to disable password authentication on your Raspberry Pi after you've successfully set up key-based authentication. Edit the /etc/ssh/sshd_config file on your Pi:
sudo nano /etc/ssh/sshd_configFind the line #PasswordAuthentication yes, uncomment it (remove the #), and change yes to no. Also, ensure PubkeyAuthentication yes is uncommented. After making changes, restart the SSH service:
sudo systemctl restart sshThis step significantly hardens your ssh remoteiot device raspberry pi against unauthorized access.
Common SSH Challenges and Troubleshooting
Even with a robust setup, you might encounter issues when trying to connect to your ssh remoteiot device raspberry pi. Here are some common problems and their solutions:
- "Connection closed by {ip_address}" or "Connection refused": This error often indicates that the SSH server on your Raspberry Pi isn't running, is blocked by a firewall, or the IP address is incorrect.
- **Check SSH service:** On the Pi, run
sudo systemctl status ssh. If it's not active, start it withsudo systemctl start ssh. - **Firewall:** Ensure no firewall (e.g., UFW) on the Pi is blocking port 22. If UFW is active, allow SSH with
sudo ufw allow ssh. - **IP Address:** Double-check the IP address of your Raspberry Pi.
- **Host Keys:** Sometimes, if the host key on the server changes (e.g., after reinstalling the OS), your client might complain. You might need to remove the old host key from your client's
~/.ssh/known_hostsfile. The error message will usually tell you which line to remove.
- **Check SSH service:** On the Pi, run
- **Idle Session Disconnections:** A PuTTY session left idle will disconnect at a time determined by the host server or network. This can be frustrating. To prevent this, you can configure your SSH client to send null SSH packets (keepalives) to the remote host. In PuTTY, under "Connection," set "Seconds between keepalives" to a value like 300 (5 minutes). On Linux/macOS, you can add
ServerAliveInterval 300to your~/.ssh/configfile (or to the command line withssh -o ServerAliveInterval=300 user@host). - **Permissions Errors:** If your SSH keys have incorrect permissions, SSH will refuse to use them. Your private key file (e.g.,
id_rsa) should have permissions of 600 (read/write for owner only). Your~/.sshdirectory should have 700 permissions. Usechmod 600 ~/.ssh/id_rsaandchmod 700 ~/.ssh. - **Incorrect Username/Password/Key:** Ensure you're using the correct username (e.g.,
pi) and the correct password or that your private key is being used. If you're using PuTTY with a private key, ensure you've converted it to the PuTTY Private Key (.ppk) format using PuTTYgen.
Advanced SSH Techniques for IoT Management
Beyond basic remote access, SSH offers powerful features that can greatly enhance your ssh remoteiot device raspberry pi management:
- **SSH Port Forwarding (Tunneling):** This allows you to securely tunnel network traffic through your SSH connection.
- **Local Port Forwarding:** Access a service on your Pi (e.g., a web server on port 80) from your local machine, even if it's not directly exposed to the internet.
ssh -L 8080:localhost:80 pi@your_pi_ipwould forward local port 8080 to port 80 on the Pi. - **Remote Port Forwarding:** Expose a service on your local machine to your Pi, or even to the internet via your Pi.
- **Local Port Forwarding:** Access a service on your Pi (e.g., a web server on port 80) from your local machine, even if it's not directly exposed to the internet.
- **SSH Agent Forwarding:** If you have multiple SSH hops (e.g., connecting from your laptop to a jump server, then from the jump server to your Pi), agent forwarding allows you to use your local private key for authentication on the final hop without storing your private key on the intermediate server. This is very useful when creating a bash script from server 1 that will execute some commands on server 2 via SSH, allowing server 1 to use your private key securely.
- **X11 Forwarding for GUI Applications:** If your Raspberry Pi runs a desktop environment and you need to launch graphical applications remotely, SSH can forward the X11 display. Use the
-Xflag:ssh -X pi@your_pi_ip. To confirm that SSH is forwarding X11, check for a line containing "requesting X11 forwarding" in the output of your SSH client (often seen withssh -v). If you run ssh and display is not set, it means ssh is not forwarding the X11 connection. This variable sounds like what I am looking for, but it is not defined. This typically refers to theDISPLAYenvironment variable, which needs to be set correctly for X11 applications to know where to send their output. SSH handles this automatically when X11 forwarding is enabled.
Managing Multiple SSH Keys and Configurations
As your IoT projects grow, you might find yourself needing to manage multiple SSH keys for different devices or services (e.g., one key for your Raspberry Pi, another for a Git server). The SSH config file (~/.ssh/config on Linux/macOS, or a similar concept for OpenSSH through PowerShell on Windows) is your best friend here.
You can edit or create the file now by typing nano ~/.ssh/config (or use Notepad on Windows). Here's an example of how to configure it:
Host mypi Hostname your_raspberry_pi_ip User pi IdentityFile ~/.ssh/mypi_id_rsa Port 22 ServerAliveInterval 300 Host github.com Hostname github.com User git IdentityFile ~/.ssh/id_rsa_githubNow, instead of typing ssh pi@your_raspberry_pi_ip, you can simply type ssh mypi. For your GitHub connection, if you have a key named id_rsa_test, you can configure it like:
Host github.com Hostname github.com User git IdentityFile ~/.ssh/id_rsa_testThis allows you to use multiple SSH keys (so your key will get the name id_rsa_test) and configure the .ssh/config file under Windows (using OpenSSH through PowerShell) or Linux/macOS so that it works with a usual Git server or any other SSH-enabled service. This method streamlines your workflow and keeps your SSH configurations organized.
For Windows users utilizing OpenSSH through PowerShell, the configuration file is typically located at C:\Users\YourUsername\.ssh\config. The syntax remains the same as on Linux/macOS.
Best Practices for SSH on Remote IoT Devices
To ensure the long-term security and reliability of your ssh remoteiot device raspberry pi, adhere to these best practices:
- **Disable Password Authentication:** As discussed, once key-based authentication is set up, disable password login. This drastically reduces the attack surface.
- **Change Default SSH Port:** Instead of the default port 22, consider changing your SSH port to a non-standard one (e.g., 2222). While this isn't a security measure in itself (it's "security by obscurity"), it significantly reduces the amount of automated brute-force attacks against your device's SSH port. Remember to update your firewall rules and client configurations accordingly.
- **Use Strong Passphrases for Keys:** Your private key's passphrase is its last line of defense. Make it long, complex, and unique.
- **Keep Your Raspberry Pi OS Updated:** Regularly update your Pi's operating system and packages (
sudo apt update && sudo apt upgrade) to ensure you have the latest security patches. - **Implement a Firewall:** Use a tool like UFW (Uncomplicated Firewall) on your Raspberry Pi to restrict incoming connections only to necessary ports and trusted IP addresses.
- **Regularly Review Logs:** Periodically check your Pi's SSH logs (
/var/log/auth.log) for any suspicious login attempts. - **Avoid Hardcoding Credentials in Scripts:** As seen in some older practices, like a Windows batch script connecting automatically to a Linux server via Plink (PuTTY) where the user and password are in the script, this is a significant security risk. Always use SSH keys for automated scripts and ensure private keys are not directly exposed in the script.
- **Backup Your SSH Keys:** Losing your private key means losing access to your remote devices. Back up your
~/.sshdirectory securely.
By following these guidelines, you can build a highly secure and manageable remote IoT infrastructure using your Raspberry Pi devices.
Conclusion
The ability to securely and efficiently manage your ssh remoteiot device raspberry pi is fundamental to successful IoT deployment. SSH provides the robust framework needed for this, offering encrypted communication, strong authentication methods through key pairs, and versatile features like port and X11 forwarding. We've covered everything from the initial setup and common troubleshooting steps to advanced techniques and crucial security best practices, ensuring your remote IoT environment is both accessible and protected.
Embracing key-based authentication, disabling password logins, and maintaining a vigilant approach to security updates are not just recommendations; they are essential steps to safeguard your devices from potential threats. Now that you're equipped with this comprehensive knowledge, we encourage you to apply these principles to your own Raspberry Pi projects. Have you encountered unique SSH challenges or discovered a particularly useful configuration? Share your experiences and insights in the comments below! Your contributions can help others in the community. Don't forget to share this article with fellow IoT enthusiasts and explore other guides on our site for more tips and tricks on mastering your remote devices.
Related Resources:


Detail Author:
- Name : Maximillia Kulas
- Username : millie.raynor
- Email : lueilwitz.anais@yahoo.com
- Birthdate : 1991-03-11
- Address : 946 Aisha Ville Purdyburgh, NV 04461-1126
- Phone : +15412911297
- Company : Lesch, Upton and Osinski
- Job : Medical Scientists
- Bio : Ipsa sunt ea magnam id qui. Et ut ea quisquam magnam. Iste dicta sint velit quia ut qui.
Socials
facebook:
- url : https://facebook.com/darian5025
- username : darian5025
- bio : Inventore ut porro dolorum autem omnis minus.
- followers : 3100
- following : 838
instagram:
- url : https://instagram.com/darian_dev
- username : darian_dev
- bio : Sit rerum mollitia omnis porro voluptatibus a numquam. Laudantium optio voluptatem repellat sed.
- followers : 2939
- following : 277
linkedin:
- url : https://linkedin.com/in/darianhintz
- username : darianhintz
- bio : Aliquid assumenda assumenda autem corrupti illum.
- followers : 6959
- following : 1773
