**The landscape of IoT is expanding rapidly, bringing unparalleled convenience and automation to our lives. However, connecting to these remote devices, especially for maintenance, data retrieval, or control, presents a unique set of security challenges. This article delves into the critical aspects of how to securely connect remote IoT devices using P2P SSH, specifically focusing on the practical steps and considerations for Android users.** Just as businesses grapple with the secure handling of sensitive financial documents and client data, the burgeoning world of IoT demands an equally rigorous approach to connectivity. Imagine the implications if your smart home security system, industrial sensor network, or remote agricultural monitors were compromised due to insecure access. The integrity of data, the privacy of operations, and the very safety of physical systems hinge on robust security measures. This guide aims to provide a clear, actionable pathway to establish highly secure, peer-to-peer (P2P) SSH connections from your Android device to your remote IoT infrastructure, ensuring your data remains confidential and your operations unhindered.
Table of Contents
- The Imperative of Secure IoT Connectivity
- Understanding P2P SSH for IoT
- Setting Up Your Remote IoT Device for SSH
- The Android Connection: Tools and Techniques
- Step-by-Step Guide: Securely Connect Remote IoT P2P SSH from Android
- Best Practices for Robust IoT Security
- Troubleshooting Common Connection Issues
- Conclusion
The Imperative of Secure IoT Connectivity
In an increasingly interconnected world, the security of our digital assets, especially those involving sensitive information, is paramount. We often hear concerns like, "How can my clients securely upload their docs to my OneDrive account?" or "What's the best way of securely sharing a large confidential file between two companies?" These questions underscore a fundamental need for reliable, confidential data exchange. This same level of vigilance must extend to the Internet of Things (IoT). IoT devices, ranging from smart home appliances to industrial control systems, collect and transmit vast amounts of data, much of which can be highly sensitive or critical to operations. An insecure connection to a remote IoT device can expose confidential data, grant unauthorized control over physical systems, or create a backdoor into broader networks. Just as you wouldn't leave scanned tax documents in an unencrypted folder, you shouldn't leave your IoT devices vulnerable to cyber threats. The "Your Money or Your Life" (YMYL) principle, typically applied to financial or health advice, extends here to the integrity of your physical assets and the confidentiality of the data they generate. Compromised IoT devices can lead to financial loss, operational disruption, and even physical danger. Therefore, learning to **securely connect remote IoT P2P SSH from Android** is not merely a technical convenience but a critical security imperative. It ensures that the digital bridge between your mobile device and your remote hardware is fortified against potential breaches, protecting both your data and your infrastructure.Understanding P2P SSH for IoT
To effectively **securely connect remote IoT P2P SSH from Android**, it's crucial to grasp the foundational technologies involved: SSH and P2P networking. SSH, or Secure Shell, is a cryptographic network protocol that enables secure data communication, remote command-line login, and other secure network services between two networked computers. It provides strong authentication and encrypted communication over insecure networks. Think of it as a highly secure, encrypted tunnel through which you can send commands and receive data from your remote IoT device, protecting it from eavesdropping and tampering. Unlike older, insecure protocols like Telnet, SSH encrypts all traffic, including passwords, commands, and data, making it the de facto standard for remote administration. The "P2P" aspect, or Peer-to-Peer, signifies a direct connection between your Android device and the IoT device, bypassing traditional client-server models that might rely on centralized cloud servers for routing. While many IoT solutions rely on cloud platforms for aggregation and control, a direct P2P connection offers several advantages for specific use cases: * **Enhanced Privacy:** Data doesn't necessarily traverse third-party servers, reducing potential exposure points. * **Reduced Latency:** Direct communication can be faster, especially for real-time control applications. * **Resilience:** Less reliance on external infrastructure means greater operational continuity even if cloud services are interrupted. * **Cost Efficiency:** For scenarios not requiring extensive cloud processing or storage, P2P can reduce ongoing subscription costs. Combining P2P with SSH means establishing a direct, encrypted channel to your IoT device, providing robust security and efficient communication. This approach is particularly valuable for embedded systems or devices in environments where a constant, reliable cloud connection might be challenging or undesirable. ### SSH Key Management and Authentication The cornerstone of SSH security lies in its authentication mechanisms, particularly the use of public-key cryptography. Instead of relying solely on passwords, which can be brute-forced or phished, SSH typically uses a pair of cryptographic keys: a public key and a private key. * **Public Key:** This key can be freely shared and is stored on the remote IoT device. * **Private Key:** This key must be kept absolutely secret and is stored securely on your Android device (or the client device initiating the connection). When you attempt to connect, your Android device uses its private key to prove its identity to the IoT device. The IoT device, using the corresponding public key, verifies this identity without ever needing to see your private key. This method is vastly more secure than password-based authentication. Best practices dictate that SSH keys should be strong (e.g., RSA 2048-bit or higher, or ED25519), protected by a strong passphrase, and never shared. Just as you'd protect "confidential financial documents," your private SSH key requires the highest level of security. ### Network Configuration for P2P Establishing a direct P2P connection to a remote IoT device often involves navigating network complexities, particularly Network Address Translation (NAT) and firewalls. Most home and business networks use NAT, which allows multiple devices to share a single public IP address. This makes direct inbound connections challenging because the router doesn't know which internal device the incoming connection is intended for. Solutions for NAT traversal include: * **Port Forwarding:** Manually configuring your router to direct specific incoming traffic (e.g., SSH port 22) to your IoT device's internal IP address. This is effective but requires a static public IP or a Dynamic DNS (DDNS) service if your public IP changes frequently. * **VPNs/Overlay Networks:** Services like ZeroTier, Tailscale, or WireGuard create a virtual private network (VPN) that spans across different physical networks, making all connected devices appear as if they are on the same local network, regardless of their actual location or NAT configuration. This is often the most straightforward and secure method for P2P connectivity, as it handles the complexities of NAT traversal automatically and encrypts all traffic within the overlay network. * **Reverse SSH Tunneling:** The IoT device initiates an outbound connection to a publicly accessible server, creating a tunnel that the Android device can then use to connect back to the IoT device. This is more complex but can be useful in highly restricted network environments. For a truly **securely connect remote IoT P2P SSH from Android** setup, leveraging an overlay network like ZeroTier or Tailscale is highly recommended. They simplify the networking aspect significantly, allowing you to focus on the SSH connection itself.Setting Up Your Remote IoT Device for SSH
Before you can **securely connect remote IoT P2P SSH from Android**, your IoT device needs to be properly configured. This typically applies to devices running a Linux-based operating system, such as a Raspberry Pi, BeagleBone, or even a more powerful single-board computer. **Prerequisites:** 1. **Operating System:** Ensure your IoT device is running a compatible OS (e.g., Raspberry Pi OS, Armbian, custom Linux distribution). 2. **Network Connectivity:** The device must be connected to the internet, either via Wi-Fi or Ethernet. 3. **Basic Access:** You'll need initial access to the device (e.g., via a keyboard and monitor, or an existing network connection) to perform the initial setup. **Steps for SSH Setup:** 1. **Enable SSH Daemon:** * On most Linux distributions, SSH is provided by OpenSSH. You might need to enable and start the SSH service. * For Raspberry Pi OS, you can enable SSH via `sudo raspi-config` under "Interface Options" -> "SSH". * For other systems, you might need to install it: `sudo apt update && sudo apt install openssh-server`. * Then, ensure it's running: `sudo systemctl enable ssh && sudo systemctl start ssh`. 2. **Create a Dedicated User (Optional but Recommended):** * Avoid using the default `pi` user (on Raspberry Pi) or `root` for direct SSH access. Create a new user with limited privileges for remote management: `sudo adduser your_username` `sudo usermod -aG sudo your_username` (if you need sudo privileges) 3. **Generate SSH Key Pair (on your Android/local machine):** * While you can generate keys on the IoT device, it's generally better to generate them on your local machine or Android device that will be initiating the connection. We'll cover Android key generation in the next section. 4. **Transfer Public Key to IoT Device:** * Once you have your public key (`id_rsa.pub` or `id_ed25519.pub`), you need to copy it to the IoT device's authorized keys file. * On the IoT device, navigate to the user's home directory: `cd /home/your_username` * Create the `.ssh` directory if it doesn't exist: `mkdir -p .ssh && chmod 700 .ssh` * Append your public key to the `authorized_keys` file: `echo "your_public_key_string" >> .ssh/authorized_keys` * Set correct permissions: `chmod 600 .ssh/authorized_keys` * *Alternatively, use `ssh-copy-id` from a Linux/macOS machine if available for easier transfer.* 5. **Disable Password Authentication (Highly Recommended):** * Edit the SSH daemon configuration file (`/etc/ssh/sshd_config`): `sudo nano /etc/ssh/sshd_config` * Find and set: `PasswordAuthentication no` `PermitRootLogin no` (if not already set) * Save and exit, then restart the SSH service: `sudo systemctl restart ssh` 6. **Install P2P Overlay Client (e.g., ZeroTier/Tailscale):** * Follow the instructions for your chosen overlay network to install their client on the IoT device. This will allow it to join your virtual network. For example, for ZeroTier: `curl -s https://install.zerotier.com | sudo bash` `sudo zerotier-cli join YOUR_NETWORK_ID` * Once joined, note the device's assigned virtual IP address (e.g., `zerotier-cli listnetworks` or `ip addr show zt0`). This will be the IP you use to connect via SSH. By following these steps, your IoT device will be ready to accept secure SSH connections using key-based authentication over a P2P network, making it accessible for you to **securely connect remote IoT P2P SSH from Android**.The Android Connection: Tools and Techniques
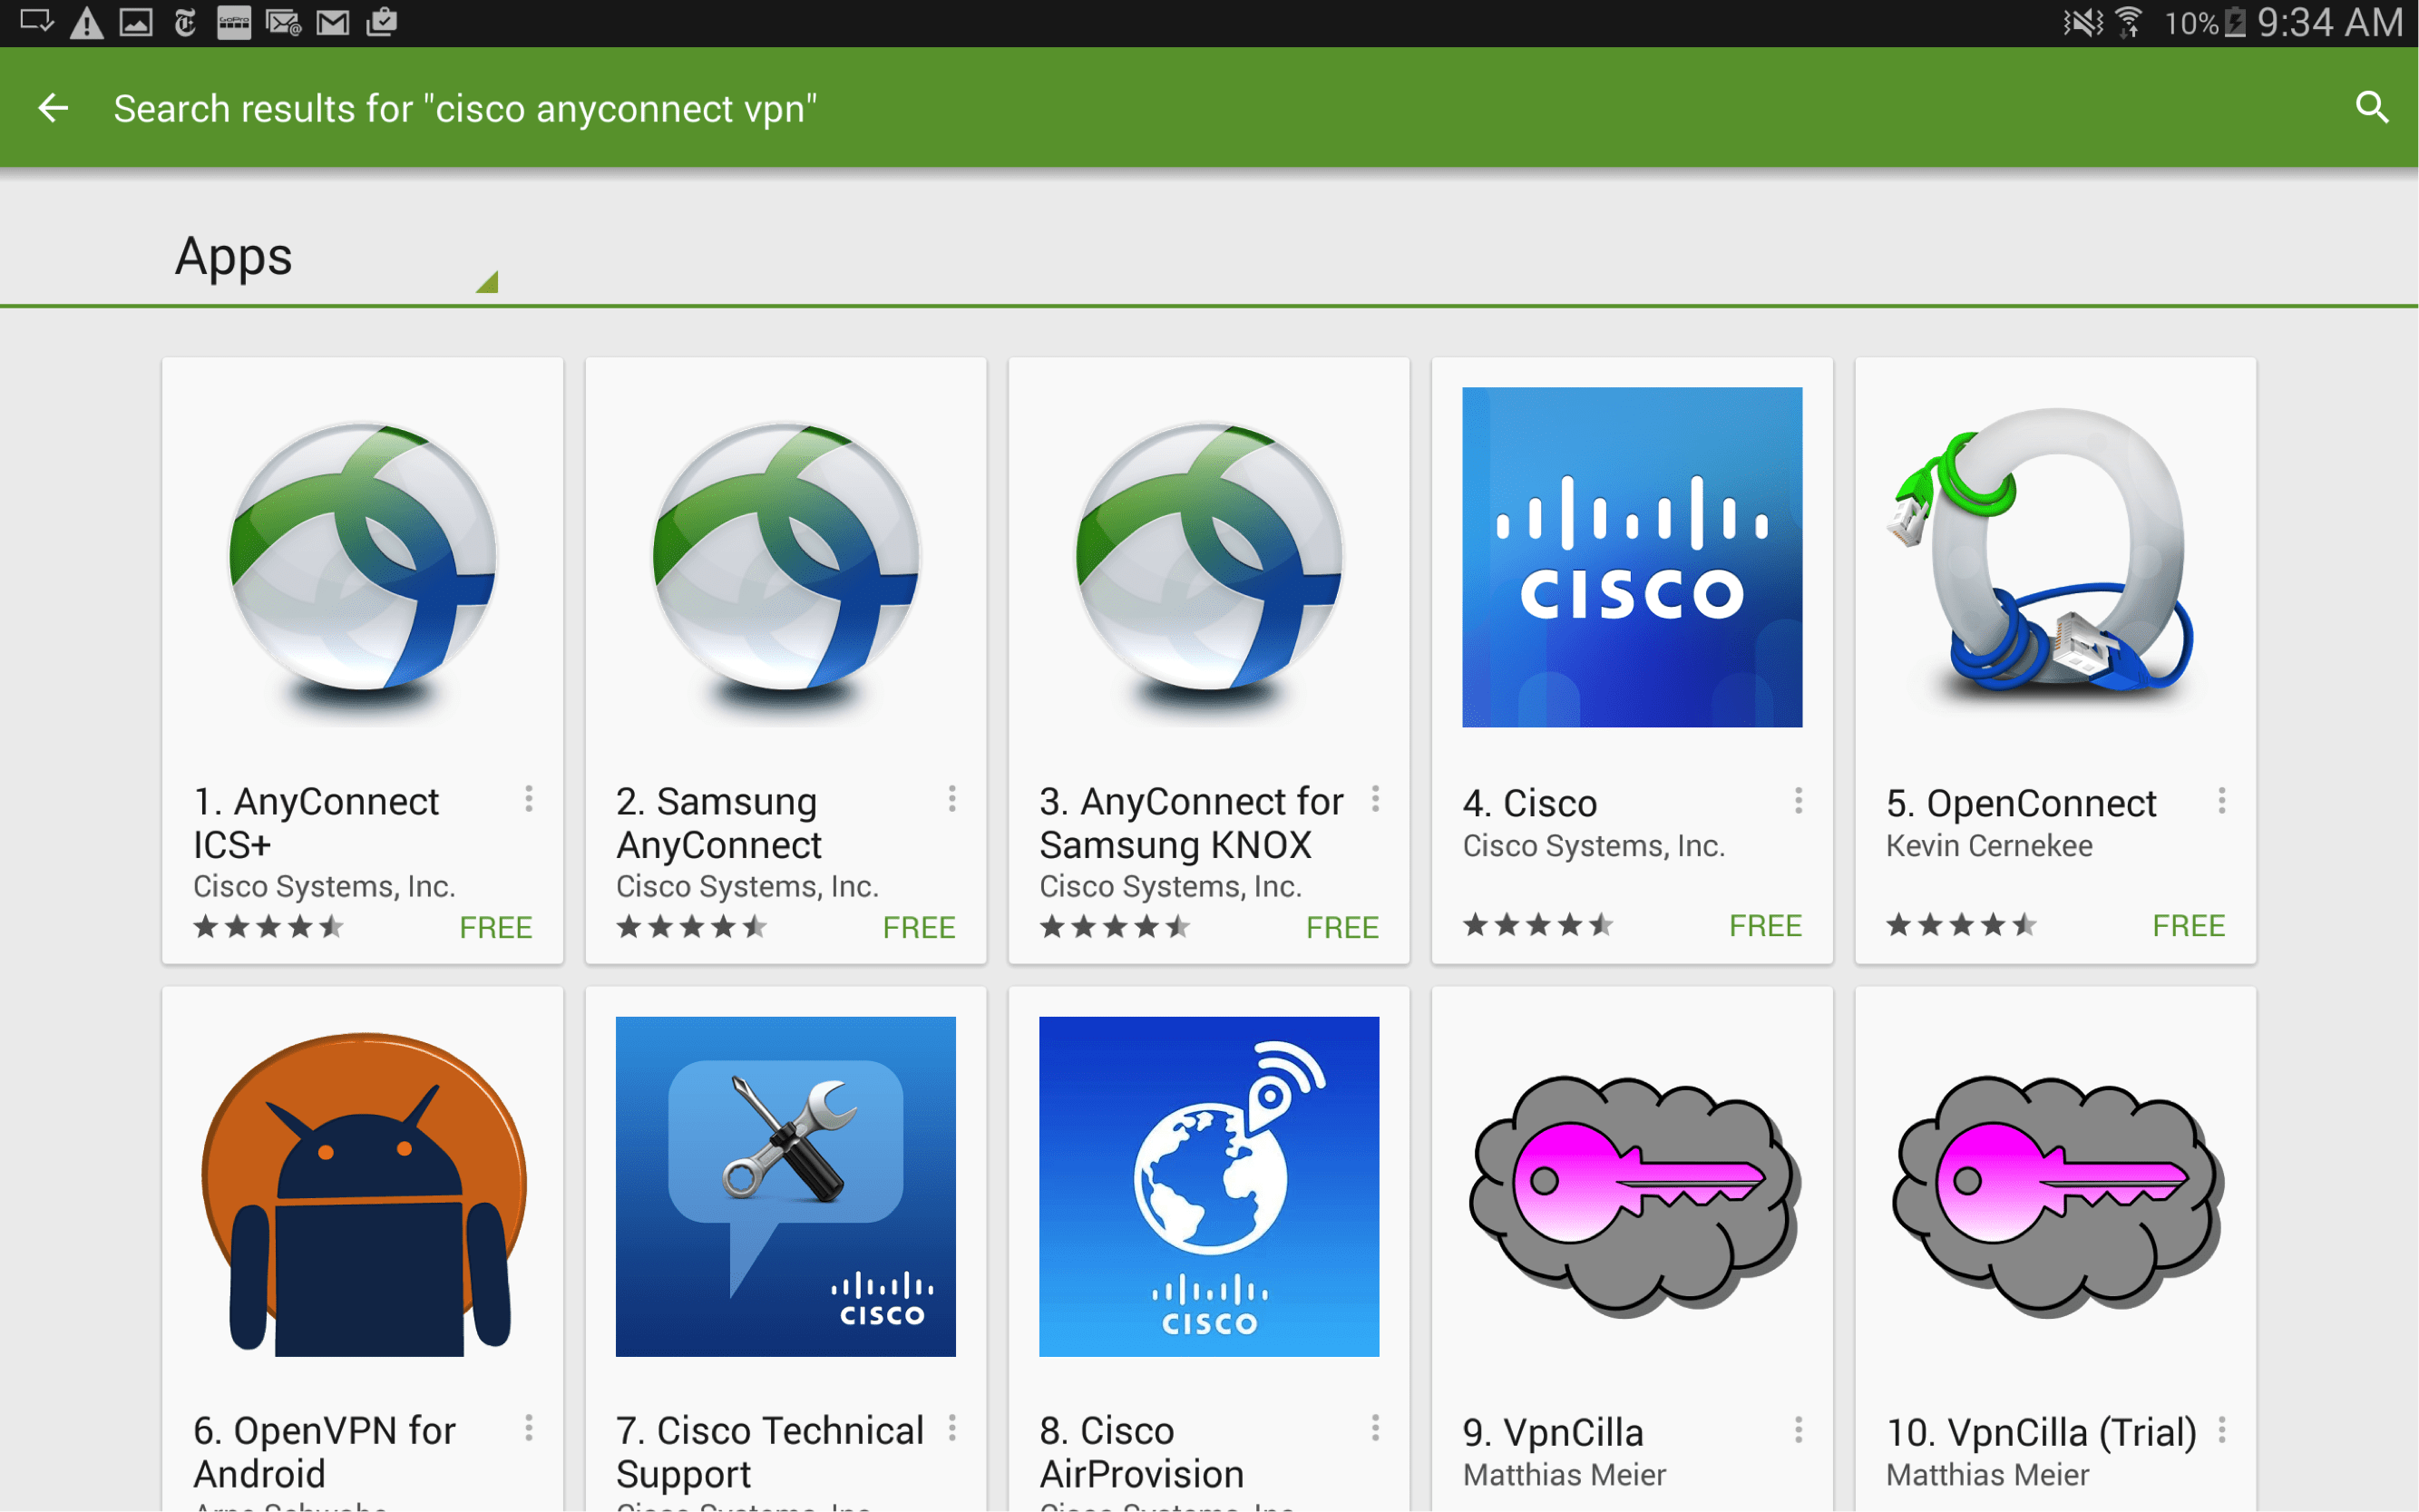
Connecting from an Android device to a remote IoT device via P2P SSH requires specific tools and an understanding of how to integrate them. The Android ecosystem offers several robust applications that facilitate this process. ### Choosing the Right Android SSH Client A good SSH client for Android should offer more than just basic terminal access. Key features to look for include: * **SSH Key Management:** The ability to generate, import, and securely store SSH private keys on your device. This is paramount for key-based authentication. * **Port Forwarding:** Local and remote port forwarding capabilities for tunneling other services securely. * **Session Management:** Saving connection profiles for frequently accessed devices, including usernames, IP addresses, and key paths. * **Terminal Emulation:** A robust terminal that supports common Linux commands and provides a good user experience. * **Security Features:** Passphrase protection for private keys, fingerprint/biometric authentication. Here are some popular and highly-rated Android SSH clients: 1. **Termux:** More than just an SSH client, Termux is a powerful terminal emulator and Linux environment for Android. You can install OpenSSH within Termux and use it just like you would on a desktop Linux machine. This gives you maximum flexibility, including the ability to generate SSH keys directly within the app (`ssh-keygen`). 2. **JuiceSSH:** A feature-rich and user-friendly SSH client. It excels in session management, supports key-based authentication, and offers a clean interface. It also has a built-in "snippet" feature for frequently used commands. 3. **ConnectBot:** An older but still reliable open-source SSH client. It's known for its simplicity and effectiveness. While its UI might feel a bit dated, it provides core SSH functionality including key management. For the purpose of **securely connect remote IoT P2P SSH from Android**, Termux is often preferred by power users due to its full Linux environment capabilities, allowing for direct `ssh-keygen` and more advanced command-line operations. However, JuiceSSH provides a more polished user experience for those who prefer a GUI-driven approach. ### P2P Network Overlays on Android As discussed, P2P overlay networks simplify the challenge of connecting to devices behind NATs. Fortunately, the leading solutions have excellent Android applications that integrate seamlessly. 1. **ZeroTier:** * Download the ZeroTier One app from the Google Play Store. * Open the app and add your ZeroTier network ID. * Enable the network. Your Android device will then join the virtual network and receive a virtual IP address. * Now, your Android device can communicate directly with your IoT device using its ZeroTier-assigned virtual IP address, just as if they were on the same local network. 2. **Tailscale:** * Download the Tailscale app from the Google Play Store. * Log in with your chosen identity provider (Google, Microsoft, GitHub, etc.). * Enable the VPN connection within the app. * Tailscale automatically handles IP address assignment and peer discovery, allowing your Android device to reach your IoT device by its virtual IP or even its hostname (if configured). By using one of these P2P overlay apps, you create a secure, encrypted tunnel between your Android device and your remote IoT device. All traffic, including your SSH connection, flows securely within this overlay, significantly enhancing the security and reliability of your connection. This is analogous to how companies use secure VPNs to share "large confidential files" between offices, ensuring data integrity and privacy.Step-by-Step Guide: Securely Connect Remote IoT P2P SSH from Android
This comprehensive guide will walk you through the process of setting up your IoT device and Android phone to **securely connect remote IoT P2P SSH from Android**. We'll assume you've chosen ZeroTier as your P2P overlay network and Termux as your Android SSH client for maximum control and flexibility. **Phase 1: ZeroTier Network Setup (Desktop/Web)** 1. **Create a ZeroTier Account:** Go to [my.zerotier.com](https://my.zerotier.com/) and sign up for a free account. 2. **Create a New Network:** Click "Create A Network." Note down your new 16-digit Network ID. 3. **Configure Network:** * In the network settings, ensure "Auto-Assign IP Addresses" is enabled (e.g., choose a private range like `10.147.17.0/24`). * For basic setup, "Managed Routes" and "DNS" can be left at defaults. **Phase 2: IoT Device Setup (e.g., Raspberry Pi)** 1. **Initial Access:** Connect to your Raspberry Pi via a monitor/keyboard or existing local SSH connection. 2. **Update System:** `sudo apt update && sudo apt upgrade -y` 3. **Install ZeroTier Client:** `curl -s https://install.zerotier.com | sudo bash` 4. **Join Your ZeroTier Network:** Replace `YOUR_NETWORK_ID` with the ID from Step 1.2. `sudo zerotier-cli join YOUR_NETWORK_ID` 5. **Authorize Device:** Go back to [my.zerotier.com](https://my.zerotier.com/), navigate to your network, and under the "Members" section, check the "Auth" box next to your Raspberry Pi's entry. Note its assigned ZeroTier IP address (e.g., `10.147.17.X`). 6. **Enable SSH on Pi:** `sudo raspi-config` -> "Interface Options" -> "SSH" -> "Yes". 7. **Disable Password Authentication for SSH (Crucial for Security):** `sudo nano /etc/ssh/sshd_config` Find `PasswordAuthentication yes` and change it to `PasswordAuthentication no`. Find `PermitRootLogin yes` and change it to `PermitRootLogin no`. Save (Ctrl+O, Enter) and Exit (Ctrl+X). `sudo systemctl restart ssh` **Phase 3: Android Device Setup (Using Termux)** 1. **Install Termux:** Download Termux from F-Droid or the Google Play Store. 2. **Install OpenSSH in Termux:** `pkg update && pkg upgrade -y` `pkg install openssh` 3. **Generate SSH Key Pair in Termux:** `ssh-keygen -t ed25519 -f ~/.ssh/id_ed25519` * Press Enter for default location. * **Enter a strong passphrase when prompted.** This protects your private key. * Your public key will be `~/.ssh/id_ed25519.pub` and your private key `~/.ssh/id_ed25519`. 4. **Copy Public Key to IoT Device:** * Display your public key: `cat ~/.ssh/id_ed25519.pub` * Copy the *entire* output string. * **From your IoT device's terminal (via initial connection):** `mkdir -p ~/.ssh && chmod 700 ~/.ssh` `echo "PASTE_YOUR_PUBLIC_KEY_STRING_HERE" >> ~/.ssh/authorized_keys` `chmod 600 ~/.ssh/authorized_keys` * Replace `PASTE_YOUR_PUBLIC_KEY_STRING_HERE` with the actual public key you copied. Ensure it's on a single line. 5. **Install ZeroTier One App on Android:** Download from Google Play Store. 6. **Join ZeroTier Network on Android:** Open the ZeroTier app, tap the '+' icon, enter your Network ID from Step 1.2, and enable the network. Authorize your Android device on [my.zerotier.com](https://my.zerotier.com/) if it's not set to auto-authorize. Note its assigned ZeroTier IP. **Phase 4: Establishing the SSH Connection from Android** 1. **Open Termux on Android.** 2. **Connect via SSH:** `ssh -i ~/.ssh/id_ed25519 your_username@YOUR_IOT_ZEROTIER_IP` * Replace `your_username` with the username on your IoT device (e.g., `pi` or the user you created). * Replace `YOUR_IOT_ZEROTIER_IP` with the ZeroTier IP address assigned to your IoT device (e.g., `10.147.17.X`). 3. **Enter Passphrase:** When prompted, enter the passphrase you set for your SSH private key. 4. **Success!** You should now have a secure command-line interface to your remote IoT device. This process ensures that you **securely connect remote IoT P2P SSH from Android**, leveraging strong encryption and direct network paths, much like how one would ensure "secure file upload for financial documents that contain confidential" information.Best Practices for Robust IoT Security
Achieving a truly **securely connect remote IoT P2P SSH from Android** setup goes beyond the initial configuration. Ongoing vigilance and adherence to security best practices are crucial to maintain the integrity and confidentiality of your IoT ecosystem. Just as companies need a strategy for "securely sharing a large confidential file on a regular basis," your IoT security demands continuous attention. 1. **Regular Software Updates:** * Keep your IoT device's operating system, firmware, and all installed software up-to-date. Software vulnerabilities are frequently discovered and patched. Neglecting updates leaves your devices exposed. This includes your Android SSH client and P2P overlay app. 2. **Principle of Least Privilege:** * Ensure that the user account you use for SSH access on your IoT device has only the minimum necessary permissions. Avoid using the `root` account for daily operations. If a specific task requires elevated privileges, use `sudo` for individual commands rather than logging in as `root`. 3. **Strong SSH Key Management:** * **Protect your private key:** Never share it. Keep it on your Android device secured by a strong passphrase and potentially biometric authentication. * **Regularly rotate keys:** Consider generating new SSH key pairs periodically, especially if you suspect a key might have been compromised. * **Monitor `authorized_keys`:** Periodically review the `~/.ssh/authorized_keys` file on your IoT device to ensure only authorized public keys are present. 4. **Network Segmentation:** * If your IoT device is part of a larger home or business network, consider segmenting it onto its own VLAN or subnet. This limits the potential damage if one IoT device is compromised, preventing attackers from easily moving to other devices on your main network. 5. **Firewall Configuration:** * On your IoT device, configure a local firewall (e.g., `ufw` on Linux) to only allow incoming SSH connections from your ZeroTier/Tailscale IP range or specific virtual IPs. This adds another layer of defense. 6. **Monitoring and Logging:** * Enable and regularly review system logs on your IoT device (e.g., `auth.log` for SSH login attempts). Unusual activity could indicate a compromise attempt. 7. **Physical Security:** * Don't overlook the physical security of your IoT devices. If an attacker gains physical access, they can bypass many software-based security measures. 8. **Avoid Public Wi-Fi for Sensitive Connections:** * While your SSH connection is encrypted, connecting from an unsecured public Wi-Fi network adds an unnecessary risk layer. If you must use public Wi-Fi, ensure your P2P overlay (ZeroTier/Tailscale) is active and functioning correctly, as it provides an additional layer of encryption and obfuscation. By diligently applying these best practices, you establish a robust security posture for your remote IoT infrastructure, ensuring that your ability to **securely connect remote IoT P2P SSH from Android** remains reliable and protected against evolving threats.Troubleshooting Common Connection Issues
Even with careful setup, you might encounter issues when trying to **securely connect remote IoT P2P SSH from Android**. Just like the frustration of a "site that I use suddenly stop working on Windows 11" or getting a "cannot connect" message, network and configuration problems can be perplexing. Here's a guide to common issues and their solutions: 1. **"Connection Refused" or "No Route to Host"**: * **Check P2P Overlay Status:** * **On Android:** Is the ZeroTier/Tailscale app running and connected to your network? Does it show a virtual IP address? * **On IoT Device:** Is the ZeroTier/Tailscale client running and joined to the network? Check with `sudo zerotier-cli status` or `tailscale status`. Is the device authorized on the ZeroTier/Tailscale web console? * **Firewall on IoT Device:** Is there a firewall (e.g., `ufw`) blocking incoming SSH connections on your IoT device? Temporarily disable it (`sudo ufw disable`) for testing, then re-enable with proper rules. * **SSH Daemon Status:** Is the SSH service running on your IoT device? `sudo systemctl statusRelated Resources:
Detail Author:
- Name : Jaylen Connelly
- Username : santos.schuppe
- Email : vivian.eichmann@turcotte.com
- Birthdate : 2006-06-27
- Address : 15641 Greenfelder Alley Apt. 389 North Winnifred, AZ 50358
- Phone : +1 (215) 579-4104
- Company : Gulgowski-Gorczany
- Job : Electronics Engineer
- Bio : Provident quis velit cumque et. Nemo molestiae voluptate autem aut repudiandae est voluptas eos.
Socials
twitter:
- url : https://twitter.com/isaac_schulist
- username : isaac_schulist
- bio : Odit dolorum eum maxime vitae. Corrupti nisi qui corporis dolores fugit consequatur. Voluptate occaecati aliquid dolorem voluptatem temporibus iure at earum.
- followers : 1694
- following : 953
instagram:
- url : https://instagram.com/isaac3196
- username : isaac3196
- bio : Quas cumque rerum est. Explicabo non eius quia accusamus non dolor.
- followers : 4674
- following : 1492
linkedin:
- url : https://linkedin.com/in/isaac_real
- username : isaac_real
- bio : Sed sint fuga iusto praesentium ullam.
- followers : 1166
- following : 679
facebook:
- url : https://facebook.com/ischulist
- username : ischulist
- bio : Doloribus delectus earum voluptatem et provident.
- followers : 6475
- following : 863
tiktok:
- url : https://tiktok.com/@isaac_real
- username : isaac_real
- bio : Blanditiis deserunt iure eos quae sunt dolorem non.
- followers : 4683
- following : 393
