In today's interconnected world, the Internet of Things (IoT) is no longer a futuristic concept but a pervasive reality. From smart homes to industrial automation, IoT devices are collecting vast amounts of data, enabling unprecedented levels of control and insight. However, managing these devices, especially when they are geographically dispersed, presents a unique set of challenges. This is where remote IoT monitoring with SSH becomes an indispensable tool, offering a secure, efficient, and robust solution for keeping an eye on your devices, no matter where they are located.
This comprehensive guide will delve deep into the world of secure remote access for your IoT ecosystem. We'll walk you through the essential steps of downloading, configuring, and leveraging SSH (Secure Shell) across various popular platforms, including Raspberry Pi, Ubuntu, and Windows. Whether you're a hobbyist, a developer, or an enterprise professional, mastering these techniques will empower you to manage your IoT devices with confidence, ensuring seamless connectivity and efficient data flow.
Table of Contents
- Understanding the Power of Remote IoT Monitoring with SSH
- Prerequisites for Your Remote IoT Monitoring Setup
- Setting Up Remote IoT Monitoring on Raspberry Pi
- Implementing Remote IoT Monitoring on Ubuntu Systems
- Establishing Remote IoT Monitoring from Windows
- Advanced Security Measures for Remote IoT Monitoring
- Practical Applications and Data Analysis in Remote IoT Monitoring
- Troubleshooting Common SSH and Remote Monitoring Issues
- Conclusion: The Future of Connected IoT
Understanding the Power of Remote IoT Monitoring with SSH
Imagine a scenario where your IoT devices are deployed across a vast geographical area – perhaps sensors in an agricultural field, environmental monitors in remote locations, or smart city infrastructure. How do you check their status, retrieve data, or push updates without physically visiting each one? This is precisely where remote monitoring becomes not just convenient, but absolutely essential. It allows you to maintain continuous oversight, react to anomalies in real-time, and ensure the optimal performance of your distributed IoT network.
At the heart of this capability lies SSH, or Secure Shell. SSH is a cryptographic network protocol that enables secure data communication, remote command-line login, and other secure network services between two networked computers. Think of it as a highly encrypted, private tunnel through the internet, allowing you to interact with your remote IoT device as if you were sitting right in front of it. Its robust encryption protects your sensitive data from eavesdropping, ensuring that your commands and the data flowing back are kept confidential and integral.
The benefits of leveraging SSH for your remote IoT monitoring strategy are manifold:
- Enhanced Security: SSH encrypts all traffic, including passwords, commands, and data, making it incredibly difficult for unauthorized parties to intercept or tamper with your communications.
- Full Control: You gain command-line access to your devices, allowing you to run diagnostics, execute scripts, update software, and troubleshoot issues remotely.
- Efficiency: No need for physical presence, saving time and resources, especially for large-scale deployments.
- Flexibility: SSH is cross-platform, working seamlessly across Linux-based systems like Raspberry Pi and Ubuntu, and even Windows.
- Secure File Transfer: Beyond just command execution, SSH also facilitates secure file transfers (SCP and SFTP), crucial for moving sensor data or configuration files.
Prerequisites for Your Remote IoT Monitoring Setup
Before diving into the practical steps of setting up remote IoT monitoring with SSH, it's crucial to ensure you have the necessary components and a basic understanding of some concepts. Don't worry if some terms seem new; we'll explain them as we go along.
- Loni Love Tyler Perry
- Ftm Squirt Twitter
- Sean Spicer Twitter
- Oakley Rae Onlyfans Leaks
- Pablo Punisha Twitter
1. Hardware Requirements:
- IoT Devices: At least one device you wish to monitor remotely. This guide focuses on Raspberry Pi and Ubuntu-based systems, which are popular choices for IoT.
- A Client Machine: A computer (desktop or laptop) from which you will initiate the SSH connection. This can be a Windows, macOS, or Linux machine.
- Network Connectivity: Both your IoT device and your client machine need internet access.
2. Software Requirements:
- Operating System for IoT Devices:
- For Raspberry Pi: Raspberry Pi OS (formerly Raspbian) is highly recommended.
- For Ubuntu devices: Ubuntu Server or a minimal Ubuntu Desktop installation.
- SSH Server Software: OpenSSH Server (pre-installed or easily installable on Linux distributions).
- SSH Client Software:
- For Linux/macOS: Built-in `ssh` command-line utility.
- For Windows: Built-in OpenSSH client (Windows 10/11) or third-party tools like PuTTY.
3. Network Understanding (Basic):
- IP Addresses: You'll need to know the IP address of your IoT device on your local network.
- Port Forwarding (Optional, but often necessary for external access): If you need to access your IoT device from outside your local network (e.g., from a different city), you'll likely need to configure port forwarding on your router. This maps an external port to your device's internal IP address and SSH port. A word of caution: Port forwarding can introduce security risks if not done carefully. Consider VPNs or cloud-based IoT platforms for more secure external access in production environments.
- Firewalls: Be aware that firewalls (on your device, router, or ISP) can block SSH connections. You may need to configure rules to allow SSH traffic.
4. Basic Command Line Knowledge:
While we'll provide specific commands, a basic familiarity with navigating a Linux terminal (for Raspberry Pi and Ubuntu) will be beneficial.
Setting Up Remote IoT Monitoring on Raspberry Pi
The Raspberry Pi is a fantastic platform for IoT projects due to its small size, low power consumption, and versatility. Setting up remote IoT monitoring with SSH on Raspberry Pi is a common and highly effective practice.
Initial Raspberry Pi Setup and OS Installation
If your Raspberry Pi isn't already running, you'll need to install an operating system. Raspberry Pi OS Lite (a command-line only version) is often preferred for headless IoT applications as it uses fewer resources.
- Download Raspberry Pi Imager: Go to the official Raspberry Pi website and download the Raspberry Pi Imager tool for your operating system.
- Insert SD Card: Put a blank microSD card (8GB or larger, Class 10 recommended) into your computer's card reader.
- Use Raspberry Pi Imager:
- Open the Imager.
- Click "CHOOSE OS" and select "Raspberry Pi OS (other)" -> "Raspberry Pi OS Lite (64-bit)" or "Raspberry Pi OS Lite (32-bit)" depending on your Pi model.
- Click "CHOOSE STORAGE" and select your SD card.
- Crucially, click the gear icon (⚙️) for advanced options. Here, you can pre-configure SSH:
- Enable SSH: Select "Password authentication" or "Public-key authentication" (public-key is more secure). If choosing password, remember your chosen username and password.
- Set username and password: (e.g., username `pi`, your chosen password).
- Configure Wi-Fi: Enter your Wi-Fi SSID and password if you plan to use Wi-Fi.
- Set locale settings.
- Click "SAVE" and then "WRITE". Confirm the warning to erase the SD card.
- Boot Raspberry Pi: Once the writing is complete, eject the SD card, insert it into your Raspberry Pi, and power it on.
Installing and Configuring OpenSSH Server on Raspberry Pi
If you didn't enable SSH via the Imager's advanced options, you'll need to do it manually. Connect your Pi to a monitor and keyboard for the first boot, or use a network cable and find its IP address via your router.
1. Enable SSH (if not done via Imager):
sudo raspi-config Navigate to "Interface Options" -> "SSH" -> "Yes". Exit `raspi-config` and reboot if prompted.
2. Update and Upgrade Packages: It's always good practice to ensure your system is up-to-date.
sudo apt update sudo apt upgrade -y 3. Verify OpenSSH Server Status: OpenSSH server is usually pre-installed on Raspberry Pi OS. You can check its status:
sudo systemctl status ssh You should see "active (running)". If not, you might need to install it:
sudo apt install openssh-server -y sudo systemctl enable ssh sudo systemctl start ssh 4. Basic Security Configuration (`sshd_config`):
It's highly recommended to make a few changes to the SSH server configuration for better security. Edit the configuration file:
sudo nano /etc/ssh/sshd_config Look for and modify these lines (uncomment if necessary):
- `Port 22`: Change `22` to a non-standard port number (e.g., `Port 2222`). This reduces automated attack attempts.
- `PermitRootLogin prohibit-password`: Ensure root login is disabled.
- `PasswordAuthentication yes`: For initial setup, keep this. Later, you should switch to key-based authentication and set this to `no`.
Save the file (Ctrl+O, Enter) and exit (Ctrl+X). Then restart the SSH service:
sudo systemctl restart ssh Accessing Raspberry Pi Remotely via SSH
Now that your Raspberry Pi is ready, you can connect to it from your client machine.
1. Find Raspberry Pi's IP Address: On the Raspberry Pi itself, type:
hostname -I This will show its IP address (e.g., `192.168.1.100`).
2. Connect from Linux/macOS: Open your terminal and use the `ssh` command:
ssh pi@192.168.1.100 -p 2222 (Replace `pi` with your username, `192.168.1.100` with your Pi's IP, and `2222` with your chosen SSH port). The first time, you'll be asked to confirm the host's authenticity. Type `yes` and press Enter. Then enter your password.
3. Connect from Windows:
- Using Built-in OpenSSH Client (Windows 10/11): Open PowerShell or Command Prompt and use the same command as Linux/macOS:
ssh pi@192.168.1.100 -p 2222 - Using PuTTY:
- Download PuTTY and install it.
- Open PuTTY. In the "Session" category:
- Host Name (or IP address): `192.168.1.100`
- Port: `2222` (or your chosen port)
- Connection type: `SSH`
- Click "Open". A terminal window will appear. Enter your username (`pi`) and password when prompted.
You are now securely connected to your Raspberry Pi! You can run commands like `df -h` (check disk space), `vcgencmd measure_temp` (check CPU temperature), or execute your custom IoT scripts.
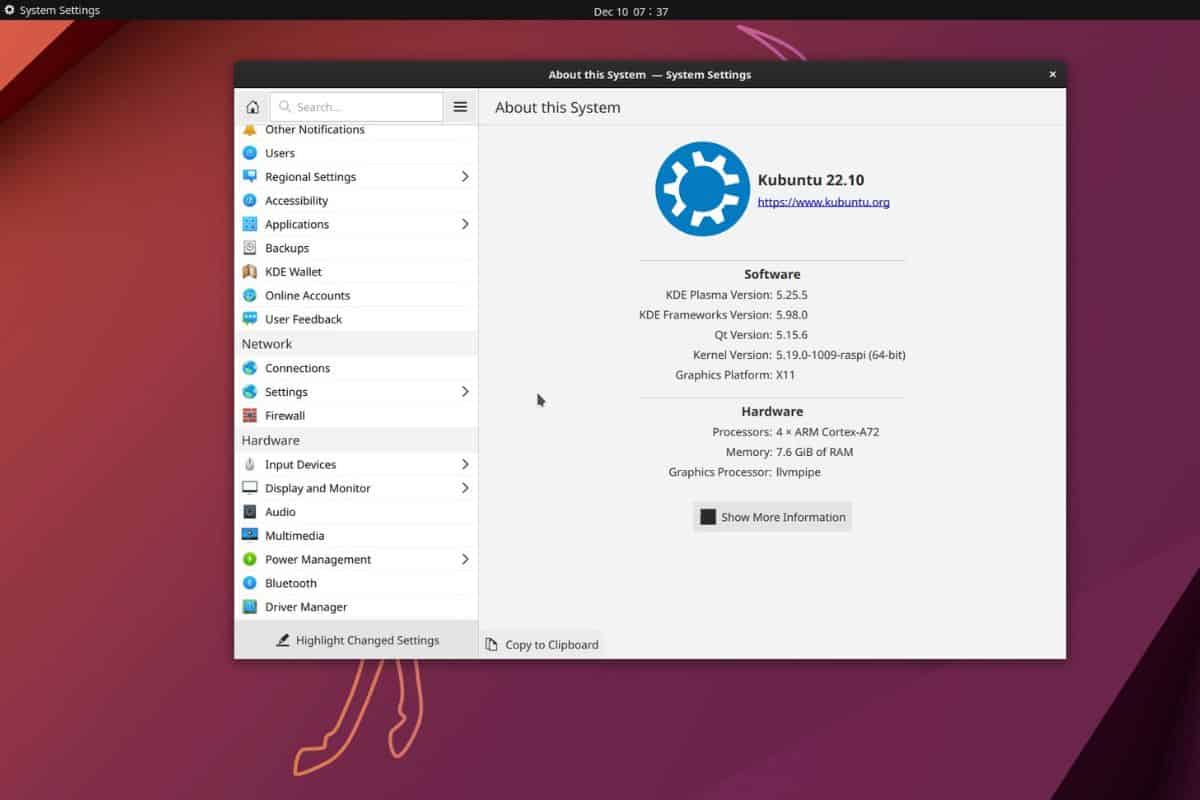
Implementing Remote IoT Monitoring on Ubuntu Systems
Ubuntu is another robust Linux distribution widely used for servers and more powerful IoT gateways. The process for setting up remote IoT monitoring with SSH on Ubuntu is very similar to Raspberry Pi, given both are Linux-based, but with some specific considerations.
Preparing Your Ubuntu IoT Device
Whether you're using a full Ubuntu Desktop installation or the more common Ubuntu Server for IoT applications, the initial steps are straightforward.
- Install Ubuntu: If you haven't already, install Ubuntu Server on your target device. This is typically done via a USB drive. During installation, you'll be prompted to create a user account and password. Remember these credentials.
- System Updates: Always ensure your system is up-to-date after installation. This is crucial for security and stability.
sudo apt update sudo apt upgrade -y OpenSSH Server Installation and Security Best Practices on Ubuntu
Unlike some minimal installations, OpenSSH Server might not be pre-installed on all Ubuntu variants. Let's get it set up.
1. Install OpenSSH Server:
sudo apt install openssh-server -y 2. Verify SSH Service:
sudo systemctl status ssh It should show "active (running)". If not, start and enable it:
sudo systemctl enable ssh sudo systemctl start ssh 3. Configure Ubuntu's Firewall (UFW): Ubuntu uses UFW (Uncomplicated Firewall) by default. You need to allow SSH connections.
sudo ufw allow ssh sudo ufw enable sudo ufw status The `ufw status` command should show that SSH is allowed. If you changed the SSH port in `sshd_config` (e.g., to 2222), you'd need to allow that specific port instead: `sudo ufw allow 2222/tcp`.
4. Enhance Security with `sshd_config`: As with Raspberry Pi, edit `/etc/ssh/sshd_config` for better security:
sudo nano /etc/ssh/sshd_config - `Port 2222` (or your chosen non-standard port).
- `PermitRootLogin no` (or `prohibit-password`).
- `PasswordAuthentication no` (after setting up key-based authentication).
After making changes, restart the SSH service:
sudo systemctl restart ssh 5. Key-Based Authentication (Highly Recommended): This is significantly more secure than password authentication. It involves generating a pair of cryptographic keys: a public key (stored on the server) and a private key (kept on your client machine).
On your Client Machine (e.g., Windows, Linux, macOS):
ssh-keygen -t rsa -b 4096 Press Enter for default location (`~/.ssh/id_rsa`) and optionally enter a strong passphrase (highly recommended for extra security). This creates `id_rsa` (private key) and `id_rsa.pub` (public key).
Copy Public Key to Ubuntu Device:
ssh-copy-id -p 2222 user@your_ubuntu_ip (Replace `2222` with your port, `user` with your Ubuntu username, and `your_ubuntu_ip` with its IP address). You'll be prompted for your Ubuntu user's password. This command copies your public key to the `~/.ssh/authorized_keys` file on the Ubuntu device.
Now, try connecting without a password:
ssh -p 2222 user@your_ubuntu_ip If it works, you can then disable password authentication on the Ubuntu device by setting `PasswordAuthentication no` in `sshd_config` and restarting the SSH service.
Monitoring Ubuntu IoT Devices from Afar
With SSH configured, you can now effectively monitor your Ubuntu IoT devices.
- Running Commands: Execute commands directly via SSH:
ssh user@your_ubuntu_ip "df -h" ssh user@your_ubuntu_ip "cat /var/log/syslog | grep error" - Secure File Transfer (SCP/SFTP):
- SCP (Secure Copy Protocol): For quick file transfers from client to Ubuntu:
From Ubuntu to client:scp -P 2222 /path/to/local/file.txt user@your_ubuntu_ip:/path/to/remote/directory/scp -P 2222 user@your_ubuntu_ip:/path/to/remote/file.txt /path/to/local/directory/ - SFTP (SSH File Transfer Protocol): For an interactive file transfer session (like FTP, but secure). Type `sftp user@your_ubuntu_ip -P 2222` and then use commands like `ls`, `get`, `put`.
- SCP (Secure Copy Protocol): For quick file transfers from client to Ubuntu:
- Running Background Processes: For long-running scripts or services, use tools like `screen` or `tmux` to keep processes alive even after you disconnect your SSH session.
Establishing Remote IoT Monitoring from Windows
While Raspberry Pi and Ubuntu are often the target IoT devices, Windows is frequently the operating system of choice for the client machine from which you perform remote IoT monitoring. Fortunately, Windows has excellent tools for SSH connectivity.
Setting Up Windows as an SSH Client
You have two primary options for SSH on Windows: the built-in OpenSSH client or the popular third-party tool PuTTY.
1. Using Built-in OpenSSH Client (Windows 10/11):
Modern versions of Windows include an OpenSSH client, which means you don't need to install anything extra. It works just like the `ssh` command on Linux or macOS.
- Enable OpenSSH Client:
- Go to "Settings" -> "Apps" -> "Optional features".
- Click "Add an optional feature".
- Search for "OpenSSH Client" and install it. (It's often installed by default).
- Open PowerShell or Command Prompt: Press `Win + R`, type `cmd` or `powershell`, and press Enter.
- Connect to your IoT device: Use the `ssh` command:
(Replace `user`, `your_iot_device_ip`, and `2222` with your specific details).ssh user@your_iot_device_ip -p 2222 - Key-based authentication: If you generated keys on Windows, your private key (`id_rsa`) should be in `C:\Users\YourUsername\.ssh\`. The `ssh` command will automatically look for it there
Related Resources:


Detail Author:
- Name : Fiona Goodwin
- Username : fquigley
- Email : mae.anderson@kulas.com
- Birthdate : 1983-04-11
- Address : 68026 Mitchell Stream New Garnet, OH 18371
- Phone : (520) 393-7687
- Company : Zemlak and Sons
- Job : Barber
- Bio : Voluptatem corporis adipisci iure similique. Qui nemo dolor odit possimus laboriosam. Numquam voluptas in doloremque ut.
Socials
instagram:
- url : https://instagram.com/berta6875
- username : berta6875
- bio : Unde deleniti id hic et accusamus et. Quia quae eveniet aut accusamus error.
- followers : 6095
- following : 1900
linkedin:
- url : https://linkedin.com/in/berta.watsica
- username : berta.watsica
- bio : Aut dolores aut velit vel.
- followers : 3789
- following : 2428
